FREE AI Image Editor Online

Start free, no login required. Upload a photo to edit backgrounds, objects and styles with text, or add reference photos to guide your changes.

Images 0/10

Pick an image and try an edit

127 / 2,000

Uploaded source images are deleted by the processing service after 24 hours. Generated results follow your plan’s retention period.

How to Edit Photos for Free in 3 Steps

Two photos, one room refresh. Replace a gray sofa with your reference design while keeping the room just as it is.

  1. Upload photos0/2
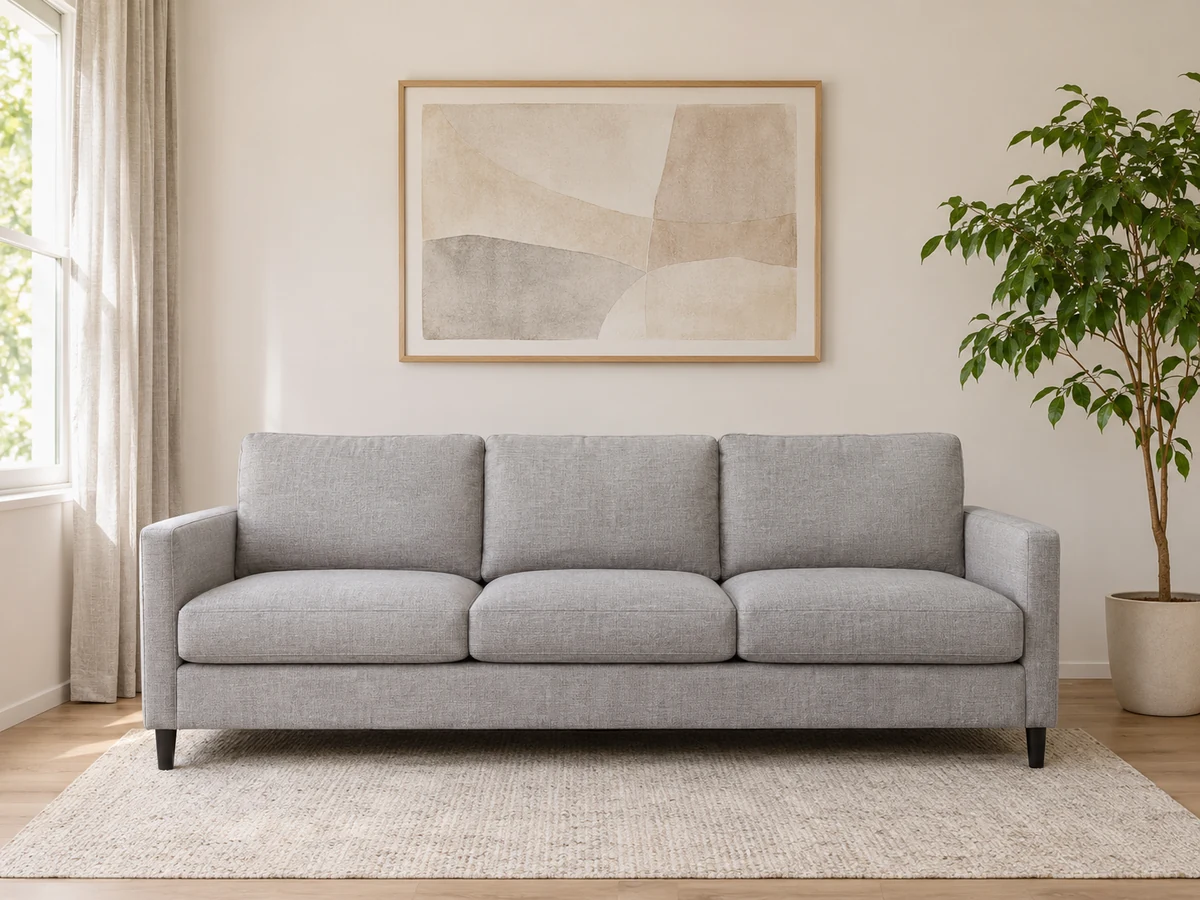
    Bright living room with a gray sofa, oak floor, framed artwork and an indoor plant
    Upload the main photoJPG, PNG or WebP
    Main imageMain image
    Add a reference photoReference image

    Upload a living-room photo, then add the sofa you want as a reference. Use multiple images to guide one edit.

  2. Describe your edit

    What would you like to change in this photo?

    Replace the gray sofa in room.webp with the orange sofa from sofa.webp. Keep the room layout, wall art, plant and lighting unchanged.

    Edit image

    Type @ to reference each photo. Tell AI which room to edit and which image provides the new sofa.

  3. Compare the result
    After: Bright living room with a gray sofa, oak floor, framed artwork and an indoor plant
    Before: Bright living room with a gray sofa, oak floor, framed artwork and an indoor plant
    BeforeAfter
    Your edit appears here
    Auto comparison. Hover to pause.

    See the new sofa in place while the layout, wall art and natural light stay the same. Compare, download or refine.

Multiple images, one edit. Combine a main photo with object, background or style references.

Explore what you can edit with AI

Give your photo a new setting, clean up distractions, or bring in a reference. Describe the change and the details you want to keep.

Change photo backgrounds with AI

Describe a studio backdrop, an outdoor setting, or a different surface. Use a focused instruction to change the scene around a product or portrait.
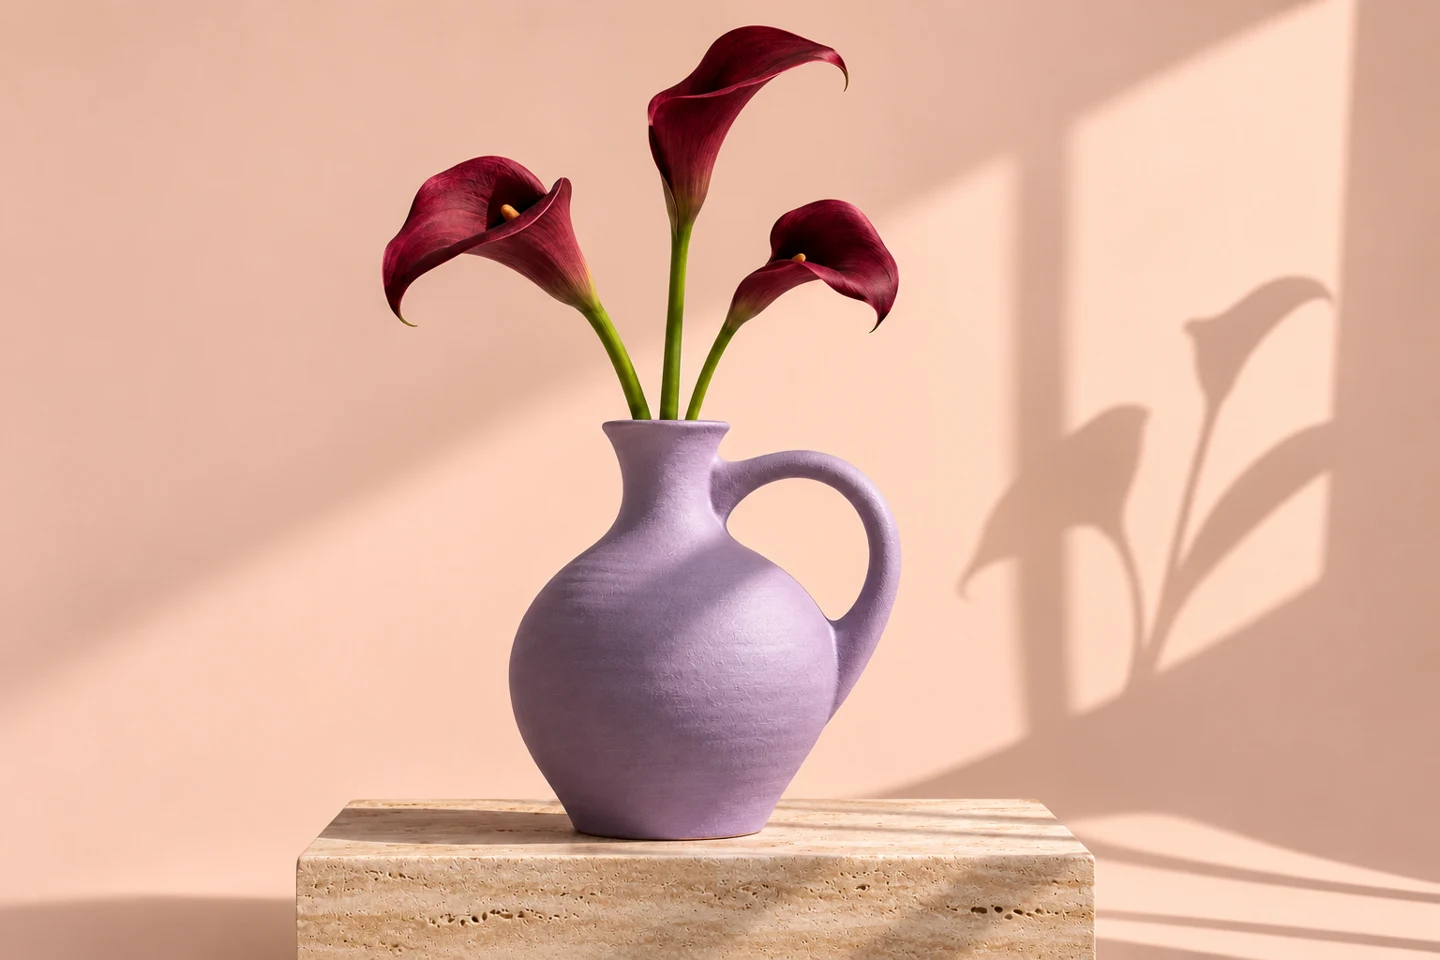
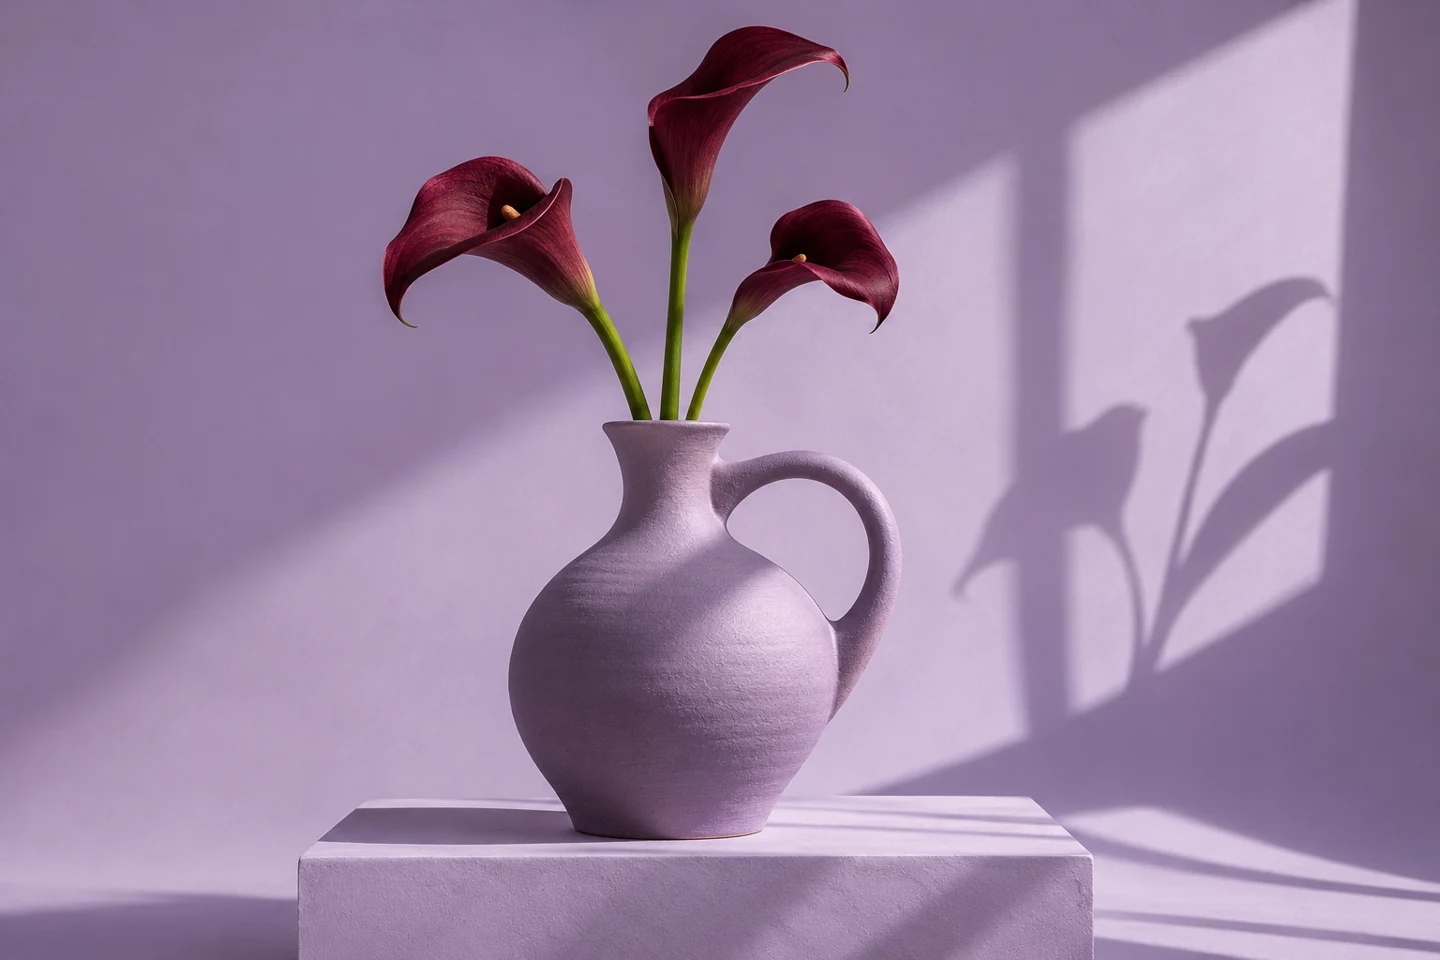
After: Vase and flowers with a different studio background and surface
Before: Vase and flowers with a different studio background and surface
BeforeAfter
Requested change
The backdrop, surface, and atmosphere around the subject.
Details to preserve
The vase, flowers, their shape, and the original arrangement.

Example instruction

Replace the background with a warm beige studio backdrop and a light stone surface. Keep the vase, flowers, their colors and arrangement unchanged.
Try this edit

Remove unwanted objects and people

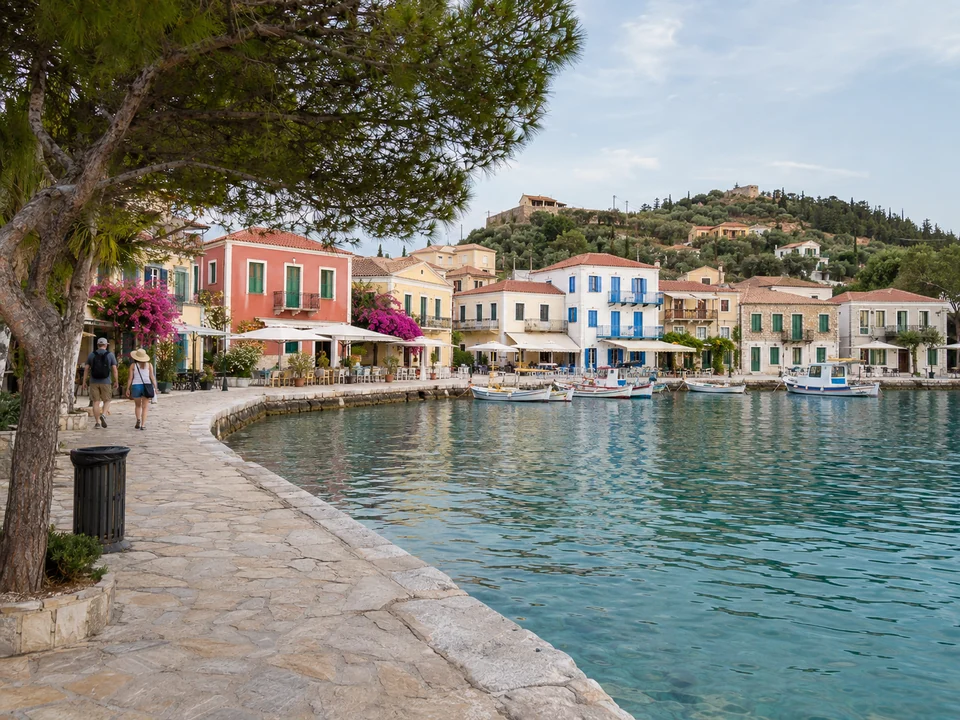
Clean up travel shots and everyday photos by identifying distracting people, bins, or clutter. Add lighting instructions when the scene needs a different mood.

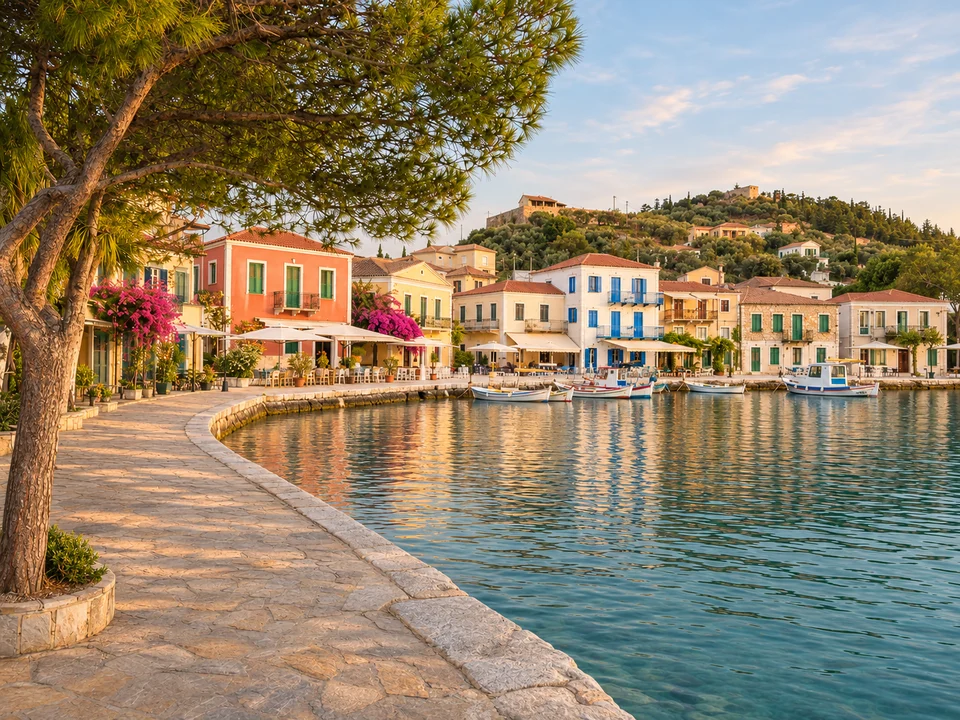
After: Harbor travel photo with tourists and a bin removed and warmer lighting
Before: Harbor travel photo with tourists and a bin removed and warmer lighting
BeforeAfter
Requested change
Background tourists and a bin are removed, with warmer late-afternoon light.
Details to preserve
The harbor, buildings, promenade, and camera framing.

Example instruction

Remove the tourists and bin, add warm golden-hour light, and preserve the harbor, buildings and framing.
Try this edit

Edit with multiple reference images

Show the editor what you mean. Add a main photo and a reference for an object, background, or style, then use @ to name each image in your instruction.

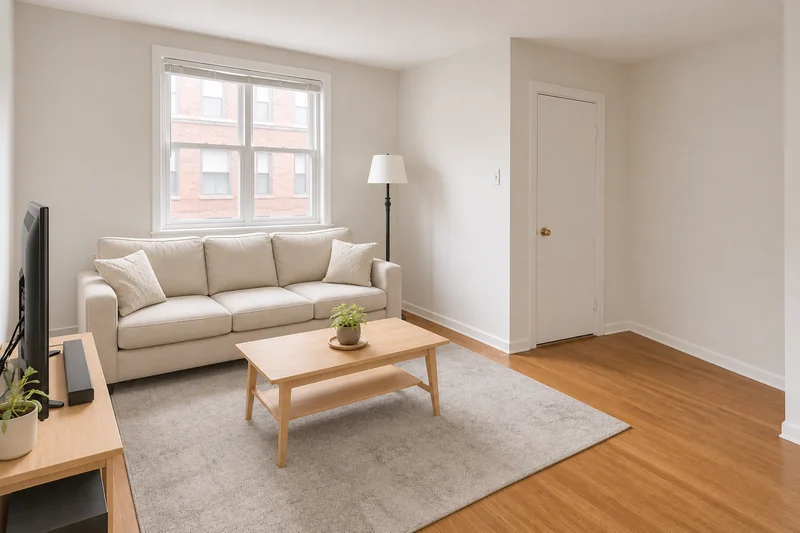
After: Living room with the gray sofa replaced by an orange reference sofa
Before: Living room with the gray sofa replaced by an orange reference sofa
BeforeAfter
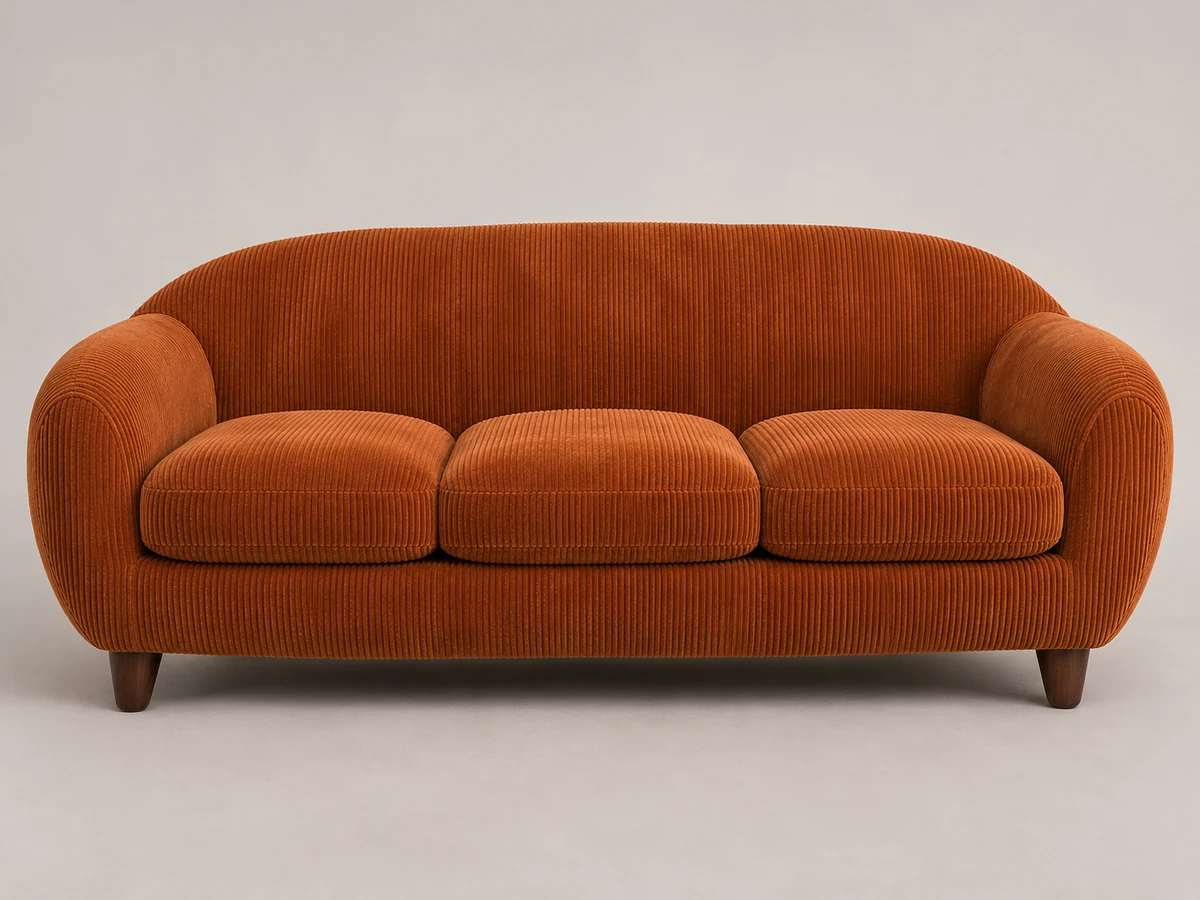
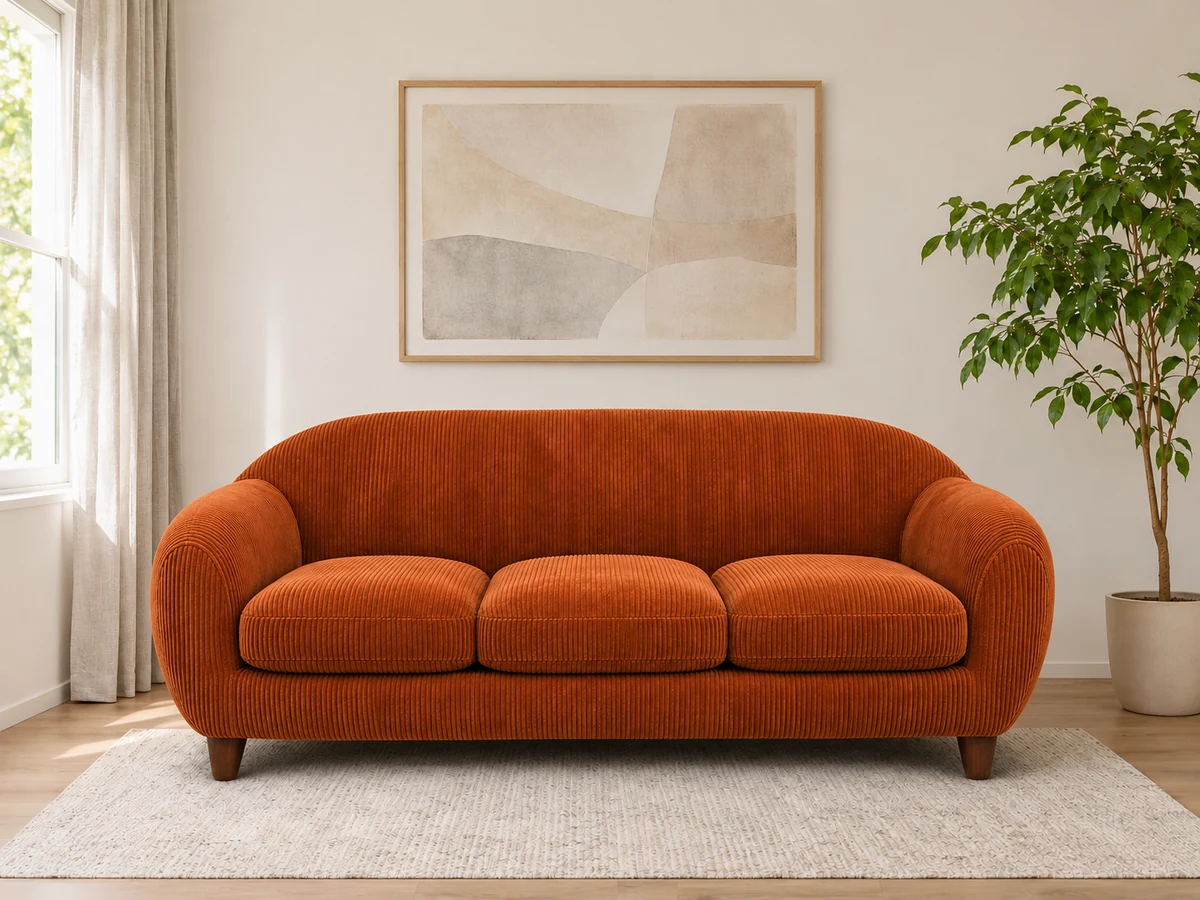
Orange sofa supplied as the reference image for the room edit
Reference photo: the sofa to place in the original room.
Requested change
The gray sofa in the room is replaced with the orange reference design.
Details to preserve
The room layout, wall art, plant, camera angle, and lighting.

Example instruction

Replace the sofa in Image 1 with the orange sofa from Image 2. Keep the room layout, decor and lighting unchanged.
Try this edit

Prompt ideas

Watch the before-and-after examples, hover to pause, then try an edit with the prompt.

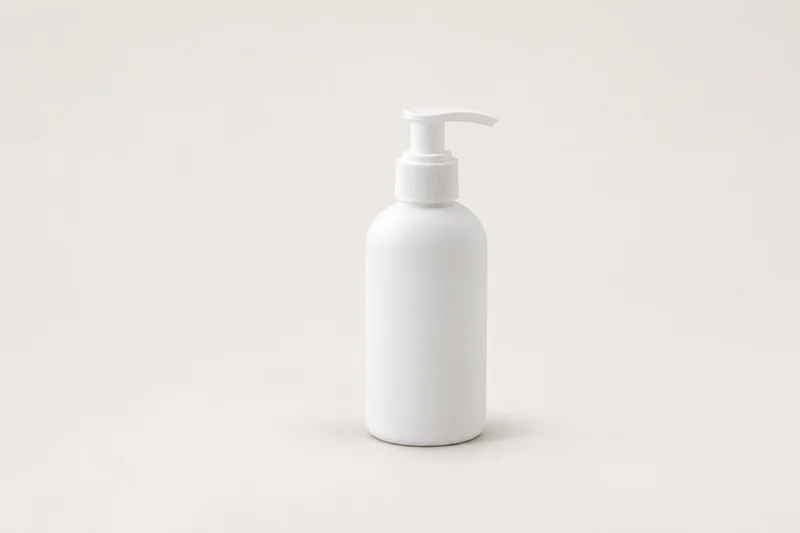
After: Product photography
Before: Product photography
BeforeAfter

Product photography

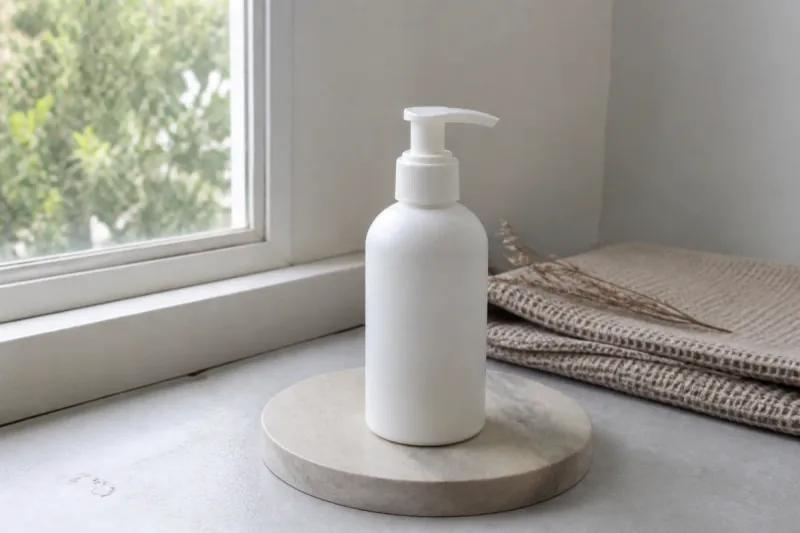
Place the bottle on an off-white studio background with a soft shadow. Keep its pump, shape and matte finish.

Try edit
After: Studio headshot
Before: Studio headshot
BeforeAfter

Studio headshot

Add a gray studio background and a navy blazer. Preserve the face, expression, hairstyle and natural skin texture.

Try edit
After: Interior restyling
Before: Interior restyling
BeforeAfter

Interior restyling

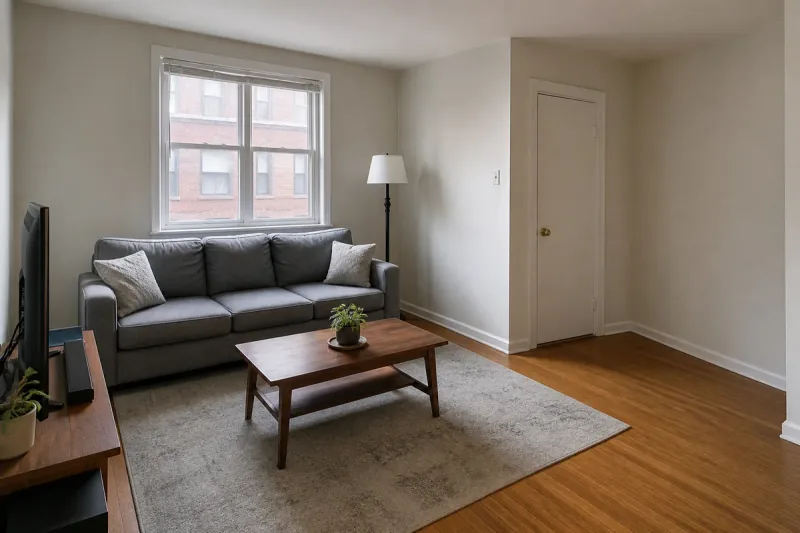
Restyle with a beige sofa, pale oak furniture and soft daylight. Preserve the windows, room layout and camera angle.

Try edit
After: Watercolor illustration
Before: Watercolor illustration
BeforeAfter

Watercolor illustration

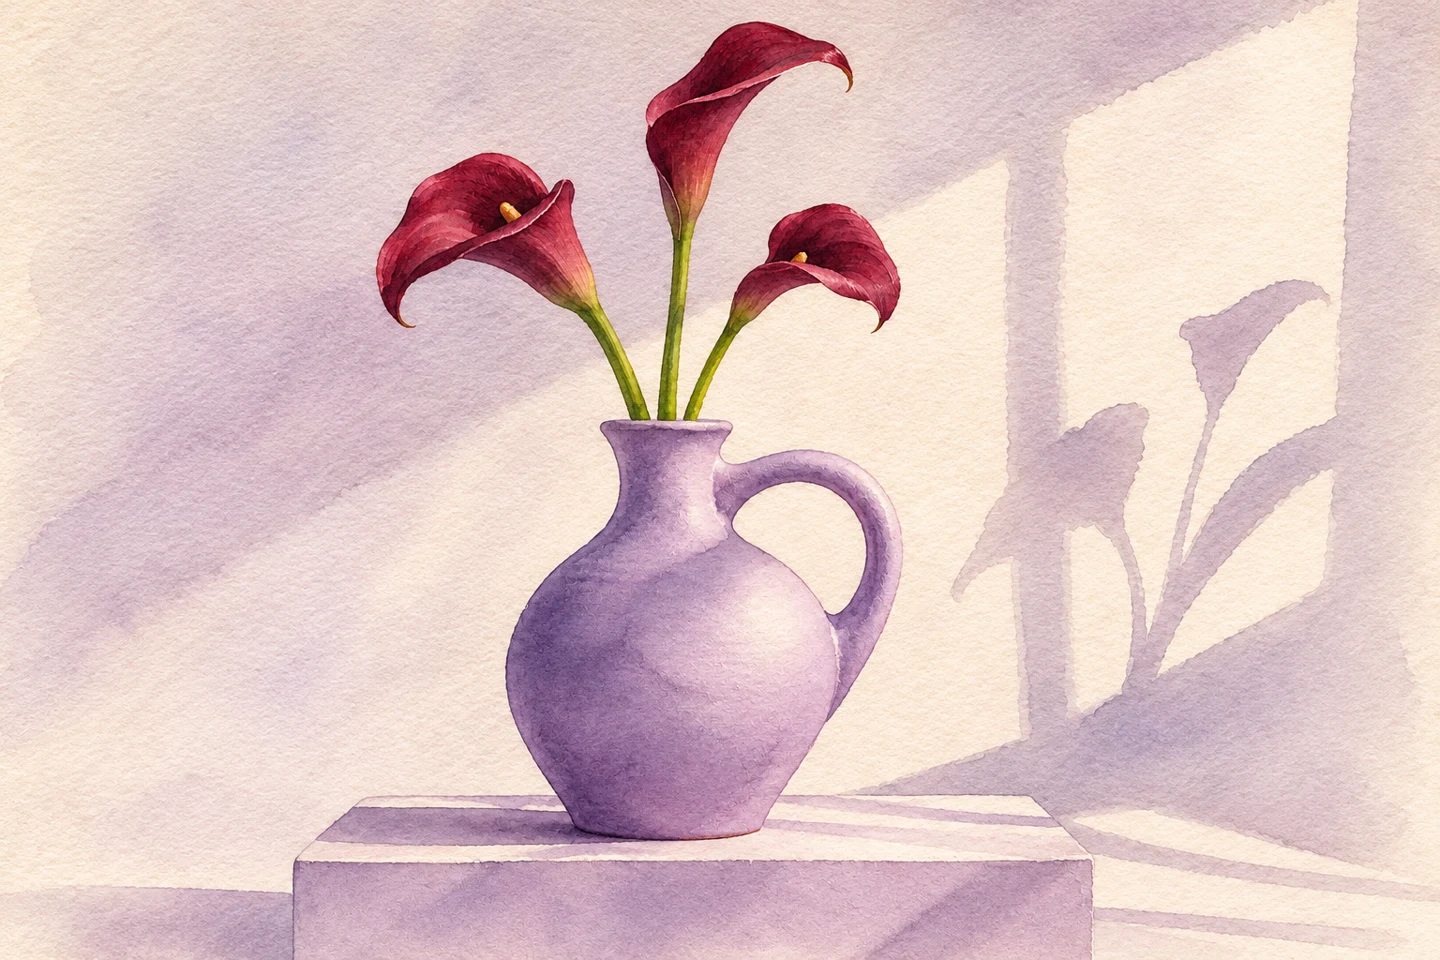
Turn this still life into watercolor with soft edges and paper texture. Keep the vase, flowers and composition.

Try edit
After: Swap furniture
Before: Swap furniture
BeforeAfter

Swap furniture

Replace the sofa in Image 1 with the orange sofa from Image 2. Keep the room layout, decor and lighting unchanged.

Try edit
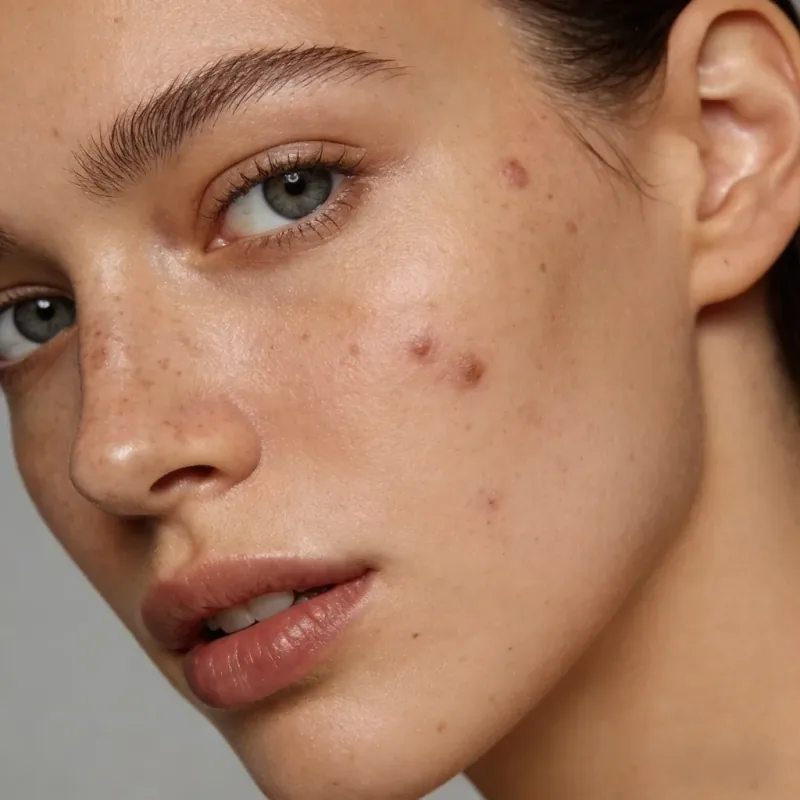
After: Natural portrait retouch
Before: Natural portrait retouch
BeforeAfter

Natural portrait retouch

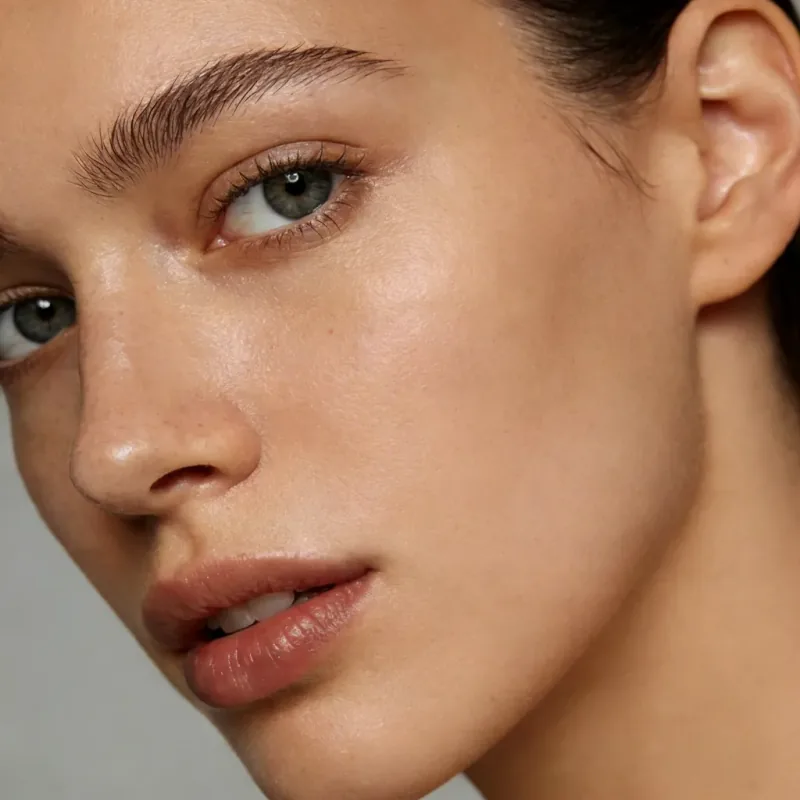
Soften blemishes and balance the light naturally. Preserve the facial features, expression and visible skin texture.

Try edit
After: Travel photo cleanup
Before: Travel photo cleanup
BeforeAfter

Travel photo cleanup

Remove the tourists and bin, add warm golden-hour light, and preserve the harbor, buildings and framing.

Try edit
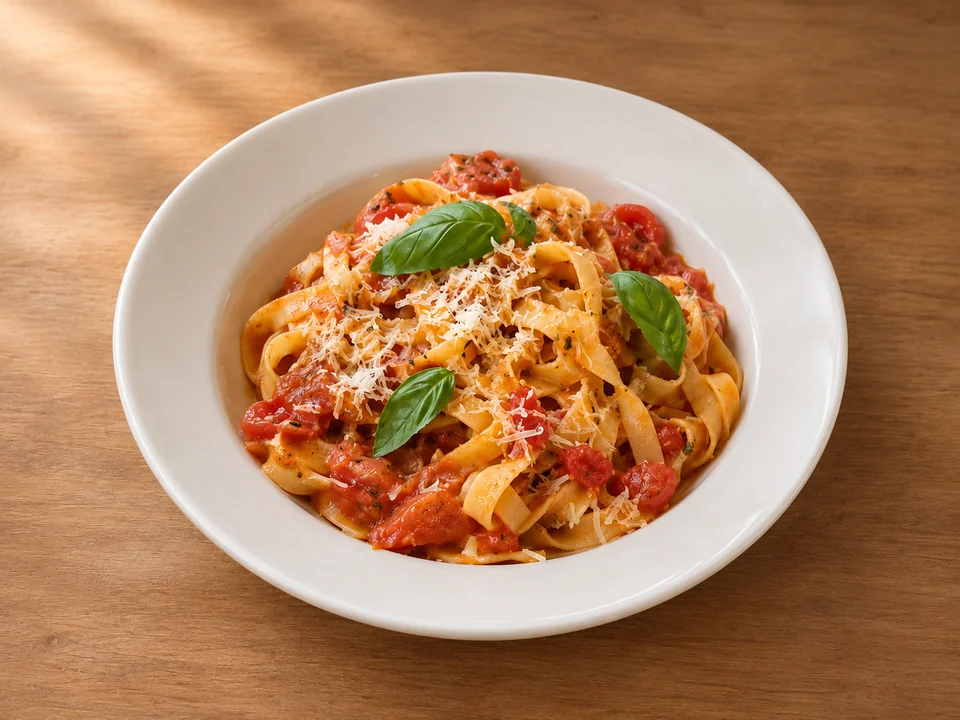
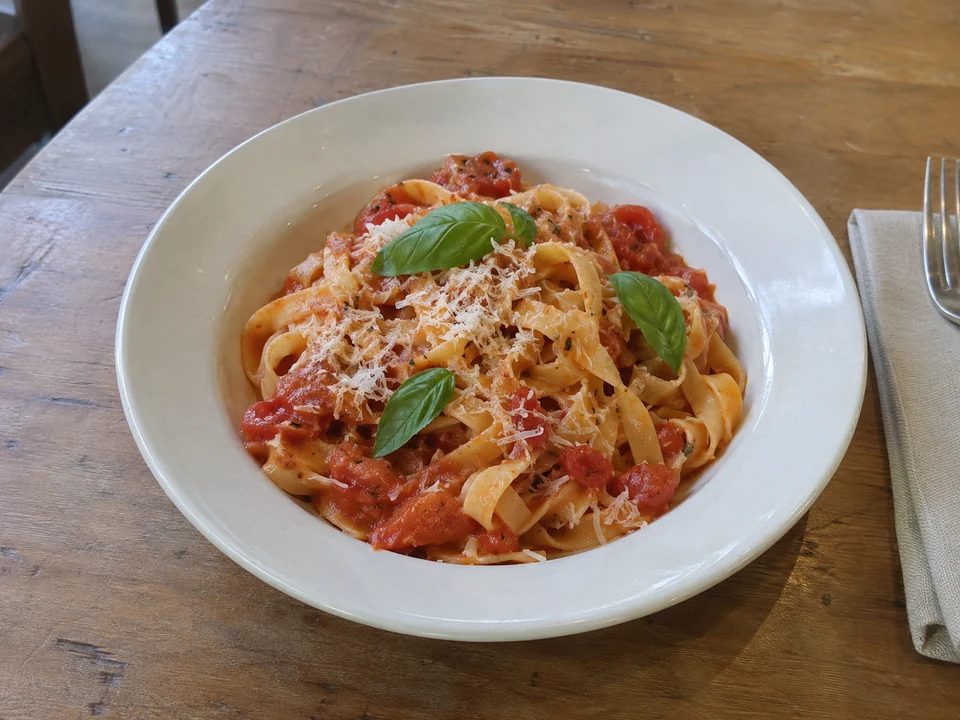
After: Food photography
Before: Food photography
BeforeAfter

Food photography

Add warm window light and a clean table background. Preserve the pasta, ingredients, plate and composition.

Try edit

Why edit with Editor Image AI?

Keep your photo, instructions, references, and result in one workspace. Start with a specific idea and review the details as you go.

Open the editing workspace

Put the edit into your own words

Describe the background, object, outfit, or style you want to change without managing layers or drawing a manual mask.

Show an idea with reference photos

Add up to 10 images within the upload limits. Use @ references in the prompt to distinguish the source photo from an object or style reference.

Review, reopen, and refine

Preview a completed result, use it for another edit, or reopen an available result from your account history with its instructions.

Start free with no login

Use free guest credits to try AI photo editing on a desktop or phone, with no login or software installation. Choose your output ratio, resolution, and format in one workspace.

Know what to expect before you edit

A few practical details about uploads, credits, processing, and downloads.

Free guest credits, no login required
Your first visit in this browser includes 10 free guest credits. Edit and download photos without logging in or paying, within the included credit allowance.
Check the credit cost first
The editor shows the cost before you start. Credits reserved for a failed edit are returned.
JPG, PNG, and WebP uploads
Add up to 10 images, with a 10 MB limit per image and 20 MB in total. Each image must be within 24 megapixels and 8,192 pixels per edge.
Choose your output settings
Select 1K, 2K, or 4K resolution and JPG or PNG output. Background removal uses PNG to retain transparency.
You decide when to submit
Phone uploads use temporary transfer storage. Local files open in your browser. Starting an edit sends your images and instructions through our server to an AI processing service.
Save the images you want to keep
Download completed images from the result panel or available account history. Image links can expire, so history is not permanent file storage.

AI image editing FAQs

Learn how to start editing for free with no login, use credits, and download your photos.

Edit your next photo for free

No login required. Upload a photo or try a sample, describe your changes, and use your free guest credits to create and download the result.